Removing a tree on your property can seem like a manageable weekend project. However, DIY tree removal requires more than a chainsaw and determination—it demands planning, safety awareness, and the right tools. Whether you’re dealing with a small sapling or a large, dying tree, understanding the process is essential for avoiding injuries and property damage.
This complete guide explores when DIY tree removal might be appropriate, practical safety measures, the most common mistakes homeowners make, and when it’s best to call a professional arborist.
When to Consider DIY Tree Removal
Not every tree removal requires hiring a professional. In certain cases, DIY removal can be a cost-effective and manageable option.
1. Small or Manageable Trees
If the tree is under 6 meters tall and located far from buildings, power lines, or fences, it may be safe to remove on your own. These smaller trees typically have thinner trunks and shallower root systems, making them easier to cut and handle.
2. Dead or Fallen Branches
You can safely remove dead limbs or fallen branches using pruning tools or small saws. These light maintenance tasks don’t require industrial equipment and can improve the appearance and safety of your yard.
3. Accessible Location
DIY removal is more feasible if the tree is in an open, flat area where it won’t damage nearby structures. Avoid tackling trees on steep slopes or near utility lines, as these conditions increase risk significantly.
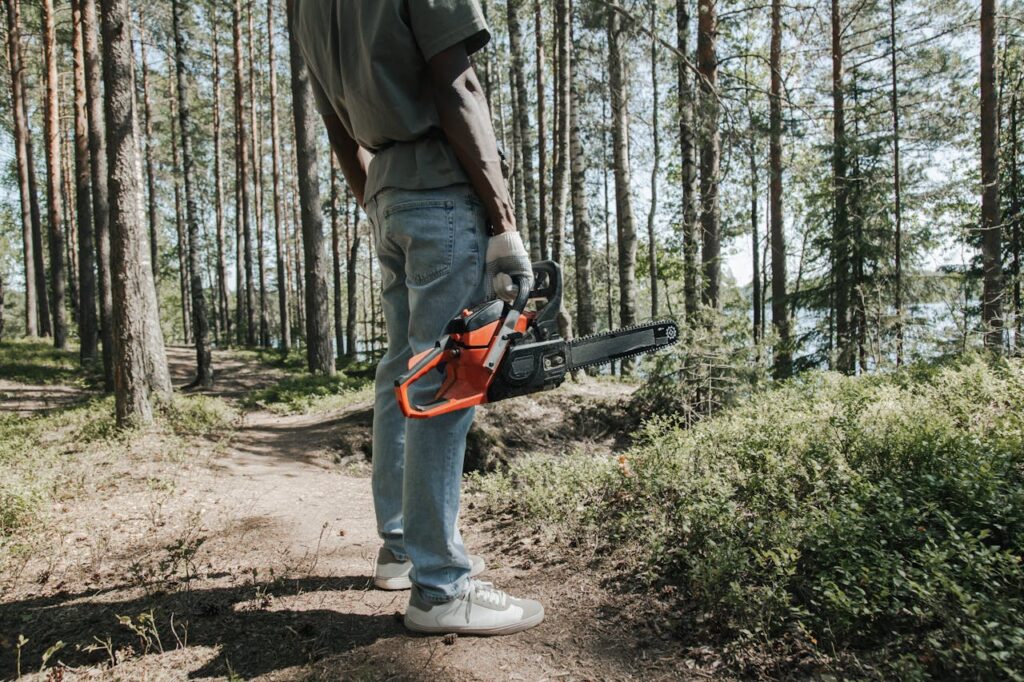
Essential Safety Tips for DIY Tree Removal
Tree removal can be hazardous if not done correctly. According to arborist safety organizations, thousands of homeowners suffer injuries each year from chainsaws and falling trees. Before you start, ensure you’re fully prepared with the right protective gear, equipment, and plan.
1. Wear Proper Safety Gear
Always wear:
- A hard hat or helmet
- Safety goggles
- Cut-resistant gloves
- Long sleeves and pants
- Steel-toe boots
- Ear protection
This protective clothing can prevent severe injuries from debris, chainsaws, and falling branches.
2. Inspect the Tree
Before cutting, inspect the tree’s condition. Look for signs of decay, hollow areas, fungus, or cracks in the trunk. These weaknesses can cause the tree to fall unpredictably, making it unsafe for DIY removal.
3. Plan an Escape Route
Trees rarely fall perfectly where you expect. Always plan at least two escape routes opposite the expected fall direction. Clear the area of children, pets, and obstacles before cutting.
4. Use the Right Tools
For small trees, use a hand saw or chainsaw designed for home use. Ensure your chainsaw is sharp, filled with oil, and functioning properly. You may also need wedges, ropes, and a sturdy ladder for cutting higher branches.
5. Work with a Partner
Tree removal should never be a solo job. Have a partner nearby to assist with spotting, holding ropes, and responding in case of emergency.
Common DIY Tree Removal Mistakes (and How to Avoid Them)
Even well-intentioned homeowners can make dangerous errors when cutting trees. Understanding these common mistakes helps you stay safe and achieve better results.
1. Misjudging the Fall Direction
A common mistake is miscalculating the lean or weight distribution of the tree. Always assess the natural tilt and wind direction before cutting. Make a small notch cut on the side facing the fall direction to control the descent.
2. Cutting Too High or Too Low
Incorrect cutting height can cause the trunk to split or kick back. The main cut should be about knee height to maintain stability. Avoid cutting directly at ground level until the main portion of the tree has fallen.
3. Ignoring Power Lines
One of the most dangerous mistakes is working near overhead wires. Trees can conduct electricity, leading to fatal accidents. Never attempt to remove a tree near power lines—always contact your utility company or a professional arborist.
4. Using a Dull or Improper Chainsaw
A dull chainsaw can cause kickbacks, uneven cuts, and additional physical strain. Always sharpen your chainsaw blade before starting and use the appropriate size for the job.
5. Neglecting Weather Conditions
Wind, rain, or lightning can quickly turn a tree removal project into a disaster. Always check the weather forecast and work on clear, calm days with good visibility.
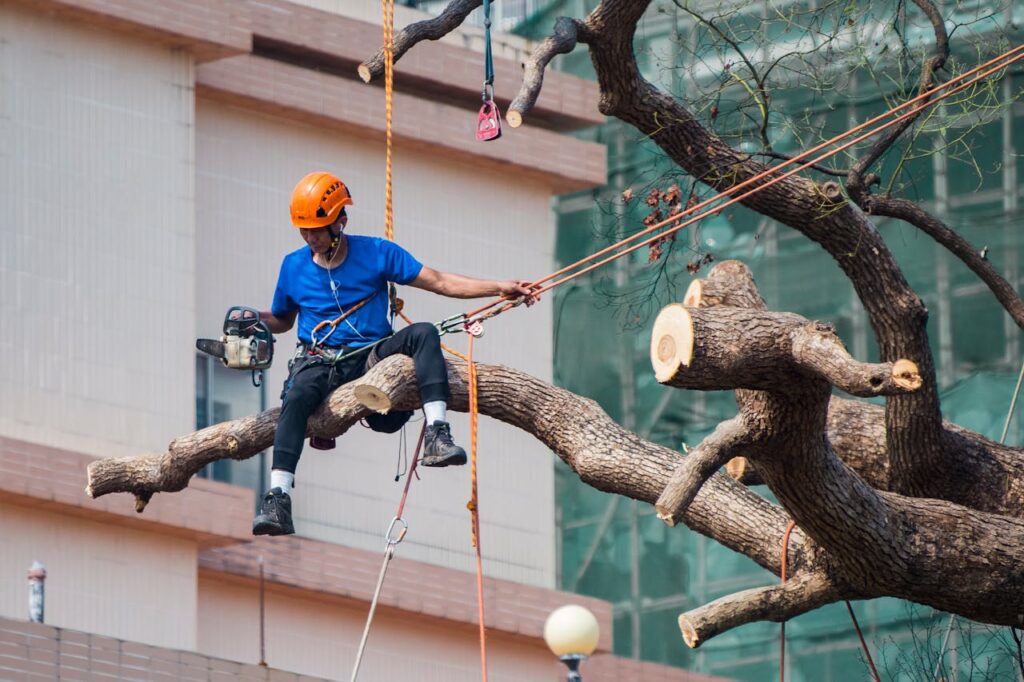
When to Hire a Professional Arborist
While DIY tree removal may save money upfront, it’s not always the safest or most effective choice. Hiring a professional arborist ensures the job is done correctly and safely.
1. Large or Dangerous Trees
If the tree is over 6–8 meters tall, leaning, diseased, or growing close to structures, it’s best to call professionals. Arborists use cranes, climbing gear, and controlled cutting techniques to remove trees without damage.
2. Emergency Tree Removal
After storms, trees can become unstable or partially uprooted. Attempting removal without expertise can be extremely hazardous. Professional emergency tree removal services can safely assess and handle the situation.
3. Insurance and Liability
Professional tree removal companies carry insurance coverage, protecting you from liability if accidents occur. Doing it yourself, however, means you’re responsible for any damage or injuries.
Post-Removal Care: Stump and Yard Maintenance
Tree removal doesn’t end once the trunk hits the ground. Proper post-removal care is vital for preventing regrowth, maintaining soil health, and restoring your landscape.
1. Stump Removal
A leftover stump can become a breeding ground for pests like termites and fungi. You can remove it by:
- Grinding it down using a stump grinder.
- Applying a stump removal chemical to accelerate decomposition.
- Hiring professionals for complete stump extraction.
2. Cleanup and Debris Management
Collect all branches, leaves, and wood chips. Larger logs can be cut into firewood, while smaller debris can be composted or taken to a local green waste facility.
3. Soil and Lawn Restoration
After stump removal, fill the hole with topsoil and compost, then plant grass or new vegetation. This prevents erosion and improves the overall look of your yard.
Final Thoughts: Safety First in DIY Tree Removal
DIY tree removal can be rewarding for small projects, but safety should always come first. Understanding the tree’s structure, using the right tools, and planning each step carefully can help you complete the task successfully. However, if the tree poses any risk due to its size, location, or condition, hiring a professional arborist is always the safest and most cost-effective choice.
Whether you decide to go the DIY route or hire experts, proper preparation, equipment, and awareness will ensure your yard remains both beautiful and safe.
FAQS
DIY tree removal can be safe for small trees if you have the right tools and knowledge. However, large trees, those near power lines, or those with decay are best handled by professional arborists to avoid serious injury or property damage.
Essential equipment includes safety goggles, gloves, a helmet, ropes, a sturdy ladder, and a chainsaw. Always inspect your tools before starting and never operate a chainsaw without proper training. Using protective gear and planning escape routes can help prevent accidents.
Homeowners often underestimate tree weight, cut in the wrong direction, or forget to assess the tree’s lean and surroundings. These errors can lead to accidents or property damage. Proper planning and safety checks are crucial before starting any DIY tree removal project.
Hire a professional if the tree is tall, leaning, diseased, or close to structures or power lines. Certified arborists have the training, insurance, and equipment to perform removals safely and efficiently without putting you or your property at risk.